Know how directly from the Microsoft 365 mail merge experts
Wie man eine Outlook-Verteilerliste in 7 einfachen Schritten erstellt: Vollständige Anleitung
Wenn du es leid bist, wertvolle Zeit damit zu verschwenden, manuell mehrere Empfänger zu deinen E-Mails hinzuzufügen, ist es Zeit, herauszufinden, wie du eine Outlook-Verteilerliste erstellen kannst.
Laut einer Studie verbringt der durchschnittliche Büroangestellte täglich ungefähr 2,6 Stunden mit E-Mails, und Unternehmen verlieren schätzungsweise 38% ihrer Mitarbeiter aufgrund von ‘E-Mail-Müdigkeit’ oder ineffizienter E-Mail-Kommunikation.
Stell dir vor, du könntest diese Zeit halbieren und dir diese kostbaren Stunden für sinnvollere Arbeit zurückgewinnen! Hier kommen die Outlook-Verteilerlisten ins Spiel.
Aber keine Sorge, du musst kein Technik-Genie sein, um diese Fähigkeit zu meistern.
In diesem umfassenden Leitfaden führen wir dich durch 7 einfache Schritte, um mühelos eine Outlook-Verteilerliste zu erstellen. Wir haben alles für dich, von der Zusammenstellung deiner Kontakte bis zum Speichern und Verwenden der Liste.
Mach dich bereit, deine Produktivität zurückzuerobern und dich von gedankenlosem Dateneingeben zu verabschieden.
Lass uns anfangen!
Was ist eine E-Mail-Verteilerliste?
Bevor wir damit beginnen, eine Verteilerliste in Outlook zu erstellen, ist es wichtig zu verstehen, was sie sind, wer sie braucht und warum du sie verwenden musst.
Eine E-Mail-Verteilerliste, auch bekannt als Mailingliste oder Kontaktgruppe, ist eine Sammlung von E-Mail-Adressen, die unter einem einzigen Namen gruppiert sind.
Sie ermöglicht es dir, eine E-Mail-Nachricht gleichzeitig an mehrere Empfänger zu senden, indem du sie einfach an den Namen der Verteilerliste adressierst, anstatt jede E-Mail-Adresse einzeln einzugeben.
Dieses Feature ist praktisch, wenn du regelmäßig mit einer bestimmten Gruppe von Personen kommunizieren oder Massen-E-Mails effizient versenden musst. Diese Listen können interne und externe Kontakte umfassen, wie Kollegen, Teammitglieder, Kunden, Lieferanten oder Abonnenten.
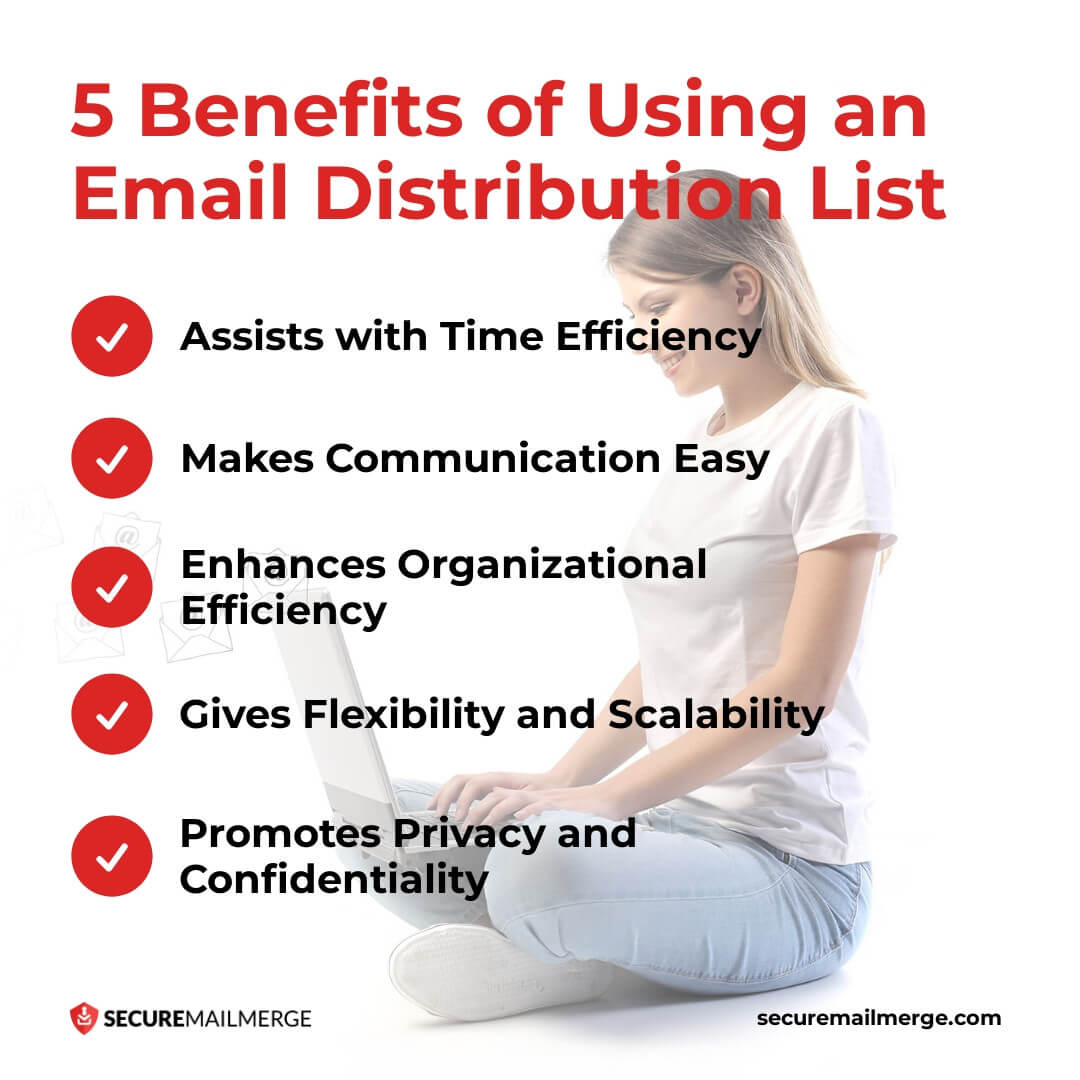
5 Vorteile der Verwendung einer E-Mail-Verteilerliste
Die Möglichkeit, Verteilerlisten zu erstellen und zu nutzen, kann deine E-Mail-Kommunikation erheblich verbessern und effizienter gestalten. So funktioniert’s:
-
Hilft bei der Zeitersparnis
Der Hauptvorteil der Verwendung einer E-Mail-Verteilerliste ist die erhebliche Zeitersparnis. Sie beseitigt die Notwendigkeit für wiederholte manuelle Eingaben und beschleunigt das Versenden von E-Mails an mehrere Empfänger.
-
Macht Kommunikation einfach
Verteilerlisten vereinfachen und optimieren die Kommunikation. Egal, ob du Updates, Ankündigungen, Newsletter oder andere Informationen an eine bestimmte Gruppe senden musst, die Verwendung einer Verteilerliste stellt sicher, dass jeder die Nachricht gleichzeitig erhält.
-
Steigert die organisatorische Effizienz
Das Verwalten von Kontakten kann herausfordernd sein, insbesondere bei großen Gruppen oder mehreren Projekten.
Verteilerlisten bieten einen strukturierten Ansatz zur Organisation deiner Kontakte. Durch das Gruppieren verwandter Kontakte kannst du spezifische Gruppen schnell finden und verwalten, um gezielte Kommunikation zu ermöglichen.
-
Bietet Flexibilität und Skalierbarkeit
Du kannst Kontakte nach Bedarf zur Verteilerliste hinzufügen oder entfernen, was es einfach macht, die Liste im Laufe der Zeit zu aktualisieren und zu pflegen. Diese Anpassungsfähigkeit ermöglicht es dir, deine Kommunikationsgruppen basierend auf verschiedenen Projekten, Abteilungen oder spezifischen Kriterien anzupassen.
-
Fördert Privatsphäre und Vertraulichkeit
Anstatt die einzelnen E-Mail-Adressen aller Empfänger offenzulegen, wird die E-Mail an den Namen der Verteilerliste gesendet. Dies stellt sicher, dass die E-Mail-Adressen der Empfänger privat bleiben, was besonders wichtig ist, wenn es um sensible Informationen geht oder um die Datenschutzpräferenzen zu respektieren.
Pro Tipp
Die Kombination deiner selbstangepassten Outlook-E-Mail-Vorlagen mit einer Verteilerliste kann deinen Workflow verbessern und dir 10x mehr Kunden bringen!
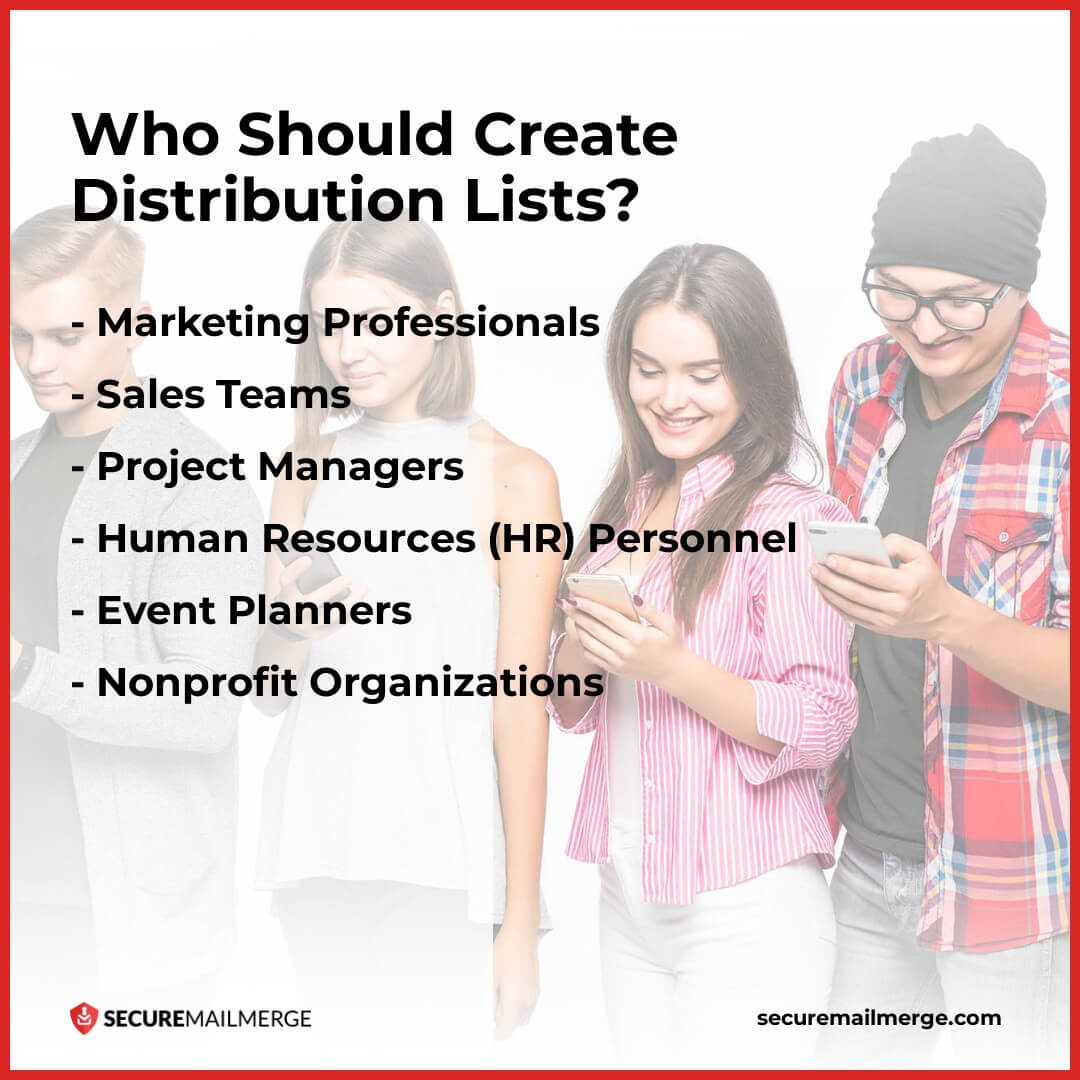
Wer muss Verteilungslisten erstellen?
Verteilungslisten in Outlook können für Fachleute in verschiedenen Branchen wertvoll sein, aber es gibt bestimmte Berufe, in denen es wichtig ist, zu wissen, wie man seine Verteilungslisten erstellt.
Lass uns einige dieser Rollen erkunden, in denen Verteilungslisten besonders wichtig sind:
-
Marketingfachleute
Marketingmitarbeiter, -manager oder -koordinatoren müssen oft viele Kunden, Klienten oder Interessenten mit gezielten Nachrichten erreichen.
Durch das Erstellen von Verteilungslisten in Outlook können Marketingfachleute E-Mail-Kampagnen optimieren und sie basierend auf Demografie, Interessen oder vergangenen Interaktionen segmentieren, um personalisierte und überzeugende Marketingnachrichten zu liefern.
-
Vertriebsteams
Vertriebsteams kommunizieren regelmäßig mit Interessenten, Kunden und Partnern, um Leads zu generieren und Geschäfte abzuschließen. Das Erstellen von Verteilungslisten ermöglicht es Vertriebsprofis, Produktupdates, Werbeangebote oder Follow-up-Kommunikationen effizient mit ihren Kontakten zu teilen.
-
Projektmanager
Projektmanager koordinieren und kommunizieren mit verschiedenen Stakeholdern, einschließlich Teammitgliedern, Kunden, Anbietern und Auftragnehmern.
Das Erstellen von Verteilungslisten in Outlook ermöglicht es Projektmanagern, Projektupdates, Besprechungserinnerungen und wichtige Ankündigungen an die entsprechenden Personen oder Gruppen zu senden. Es stellt sicher, dass alle Beteiligten am Projekt informiert und auf dem gleichen Stand sind.
Profi-Tipp
Die Nutzung der besten E-Mail-Plugins für Outlook ist eine sichere Möglichkeit für Marketing-, Vertriebs- und Projektmanagementteams, ihre Gewinne zu maximieren!
-
Personalabteilung (HR)
HR-Profis müssen oft Informationen an Mitarbeiter über Unternehmensrichtlinien, Vorteile, Schulungsprogramme oder interne Ankündigungen weitergeben.
Indem sie lernen, wie man eine Outlook-E-Mail-Gruppe erstellt, können HR-Mitarbeiter sicherstellen, dass wichtige Mitteilungen alle Mitarbeiter oder bestimmte Abteilungen erreichen.
-
Eventplaner
Eventplaner kommunizieren regelmäßig mit Teilnehmern, Sponsoren, Rednern und Anbietern, um erfolgreiche Veranstaltungen zu koordinieren.
Eventplaner können ihre Kommunikation personalisieren und eine reibungslose Veranstaltungskoordination sicherstellen, indem sie separate Verteilungslisten für verschiedene Segmente wie VIP-Gäste, Redner oder Freiwillige erstellen.
-
Gemeinnützige Organisationen
Gemeinnützige Organisationen sind stark auf effektive Kommunikation angewiesen, um Spender, Freiwillige und Unterstützer zu engagieren.
Das Erstellen von Verteilungslisten in Outlook ermöglicht es Fachleuten aus dem Non-Profit-Bereich, Updates, Fundraising-Kampagnen, Veranstaltungseinladungen oder Wirkungsberichte effizient an ihre Kontakte zu kommunizieren.
Denk daran, dass, während diese Berufe erheblich von der Erstellung von Verteilungslisten profitieren können, jeder, der häufig mit mehreren Empfängern kommuniziert, die Vorteile von Verteilungslisten in Outlook nutzen kann.
Schritt-für-Schritt-Anleitung zur Erstellung einer Outlook-Verteilerliste
Egal, ob du ein E-Mail-Marketer, Content-Ersteller, Teamleiter oder einfach jemand bist, der seine E-Mail-Kommunikation optimieren möchte, das Wissen, wie man eine Outlook-Verteilerliste erstellt, wird deine Produktivität und Effizienz zweifellos steigern.
Hier ist also eine 7-Schritte-Zusammenfassung, was du tun musst:
Schritt 1: Outlook öffnen und zum Personen-Tab navigieren
Starte Microsoft Outlook auf deinem Computer und klicke auf den “Personen”-Tab in der unteren linken Ecke des Outlook-Fensters. Dadurch öffnet sich der Kontaktbereich, in dem du deine Kontakte verwalten und Verteilerlisten erstellen kannst.
Schritt 2: Auf “Neue Kontaktgruppe” klicken
Klicke auf die Schaltfläche “Neue Kontaktgruppe” im Kontaktbereich. Dadurch öffnet sich ein neues Fenster, in dem du mit der Erstellung deiner Verteilerliste beginnen kannst.
Hinweis für macOS-Nutzer: Verwende die Schaltfläche “Neue Kontaktliste” in Classic Outlook (nicht in New Outlook). Wenn sie ausgegraut ist, gehe zu deinen Einstellungen, klicke auf Allgemein und deaktiviere “Ordner auf meinem Computer ausblenden”.
Schritt 3: Deine Verteilerliste benennen
Gib im neuen Fenster einen Namen für deine Verteilerliste im Feld “Name” ein. Wähle einen beschreibenden Namen, der den Zweck oder die Eigenschaften der Kontakte widerspiegelt, die du in die Liste aufnehmen möchtest. Zum Beispiel könntest du sie “Marketing-Team” oder “Kundenkontakte” nennen.
Schritt 4: Kontakte zu deiner Verteilerliste hinzufügen
Klicke auf die Schaltfläche “Mitglieder hinzufügen”, um Kontakte zu deiner Verteilerliste hinzuzufügen. Du hast hier mehrere Optionen:
- Wähle “Aus Outlook-Kontakten”, um Kontakte aus deinem bestehenden Outlook-Adressbuch auszuwählen.
- Wähle “Aus Adressbuch”, um Kontakte aus dem globalen Adressbuch deiner Organisation oder anderen Adressbüchern, auf die du zugreifen kannst, zu durchsuchen und auszuwählen.
- Wähle “Neuer E-Mail-Kontakt”, um neue Kontakte manuell direkt in die Verteilerliste einzugeben.
Du kannst so viele Kontakte hinzufügen, wie du benötigst, indem du sie auswählst und auf die Schaltfläche “Mitglieder” klickst, um sie zur Verteilerliste hinzuzufügen.
Schritt 5: Deine Verteilerliste überprüfen und bearbeiten
Nachdem du Kontakte hinzugefügt hast, überprüfe die Liste der Mitglieder im Feld “Mitglieder”. Du kannst Kontakte entfernen, indem du sie auswählst und auf die Schaltfläche “Entfernen” klickst. Um die Informationen eines Kontakts zu bearbeiten, wähle den Kontakt aus und klicke auf die Schaltfläche “Eigenschaften”. Dadurch kannst du Details wie E-Mail-Adressen, Namen oder andere Kontaktinformationen aktualisieren.
Schritt 6: Deine Verteilerliste speichern
Sobald du mit den Mitgliedern deiner Verteilerliste zufrieden bist, klicke auf die Schaltfläche “Speichern & Schließen”, um deine Verteilerliste in Outlook zu speichern. Sie wird nun für zukünftige Verwendung verfügbar sein, wann immer du eine E-Mail an die Gruppe von Kontakten senden möchtest.
Schritt 7: E-Mails an deine Verteilerliste senden
Um eine E-Mail an deine Verteilerliste zu senden, öffne eine neue E-Mail-Nachricht in Outlook und gib den Namen der Verteilerliste im Feld “An” ein. Outlook erkennt die Verteilerliste automatisch und erweitert sie, um alle einzelnen E-Mail-Adressen der Kontakte in der Liste anzuzeigen. Verfasse deine E-Mail wie gewohnt und sende sie an die Verteilerliste.
6 Beste Praktiken für E-Mail-Verteilerlisten in Outlook
Das Erstellen und Nutzen von E-Mail-Verteilerlisten in Outlook kann deine Kommunikationseffizienz und Produktivität erheblich steigern.
Um jedoch eine optimale Nutzung und Effektivität sicherzustellen, ist es wichtig, beim Arbeiten mit Verteilerlisten die besten Praktiken zu befolgen.
Hier sind einige wichtige Richtlinien, die du beachten solltest:
-
Halte die Verteilerliste aktuell und relevant
Überprüfe und aktualisiere regelmäßig deine Verteilerlisten, um sicherzustellen, dass sie genaue und aktuelle Kontaktdaten enthalten. Entferne veraltete oder inaktive E-Mail-Adressen aus der Liste, um Relevanz und Effektivität zu gewährleisten.
Wenn du deine Verteilerlisten auf dem neuesten Stand hältst, hilfst du, Rückläufer zu vermeiden, sicherzustellen, dass die E-Mails die beabsichtigten Empfänger erreichen, und ein hohes Maß an Engagement aufrechtzuerhalten.
-
Gruppiere Kontakte nach Relevanz und Zweck
Erstelle Verteilerlisten, die mit bestimmten Zwecken oder Themen übereinstimmen, um die Kommunikation zu optimieren.
Indem du Kontakte basierend auf ihrer Relevanz für ein bestimmtes Projekt, eine Abteilung oder ein Interesse gruppierst, kannst du sicherstellen, dass Nachrichten gezielt sind und die Empfänger Informationen erhalten, die direkt für sie relevant sind. Das hilft, das Engagement aufrechtzuerhalten und zu verhindern, dass Empfänger sich von irrelevanten E-Mails überwältigt fühlen.
-
Verwende beschreibende Namen für Verteilerlisten
Wähle beim Benennen deiner Verteilerlisten klare und beschreibende Namen, die den Zweck oder die Merkmale der enthaltenen Kontakte widerspiegeln. Das erleichtert dir und anderen die Identifizierung der passenden Liste, wenn Empfänger für eine E-Mail ausgewählt werden.
Vermeide generische oder mehrdeutige Namen, die zu Verwirrung oder Missverständnissen führen könnten, wie “Marketing E-Mail-Liste 1.1”. Füge stattdessen ihren Zweck oder ein Schlüsselwort hinzu!
-
Respektiere die Privatsphäre und Vertraulichkeit
Achte auf die Privatsphäre und Vertraulichkeit der E-Mail-Adressen der Mitglieder deiner Verteilerliste. Verwende das “Bcc” (Blindkopie)-Feld, wenn du E-Mails an Verteilerlisten sendest, um zu verhindern, dass die Empfänger die E-Mail-Adressen der anderen sehen.
Das wahrt die Privatsphäre und verhindert die unbeabsichtigte Offenlegung von Kontaktdaten an ungewollte Empfänger. Die Achtung der Privatsphäre ist entscheidend für den Aufbau von Vertrauen und die Aufrechterhaltung professioneller Beziehungen.
-
Teste und überprüfe vor dem Senden
Bevor du eine E-Mail an eine Verteilerliste sendest, ist es eine gute Praxis, die E-Mail intern oder mit einer kleinen Gruppe von Empfängern zu testen, um sicherzustellen, dass sie wie beabsichtigt aussieht und korrekt funktioniert.
So kannst du etwaige Formatierungsprobleme, defekte Links oder andere Fehler, die während des E-Mail-Erstellungsprozesses aufgetreten sein könnten, erkennen. Die Überprüfung der E-Mail, bevor du sie an die gesamte Verteilerliste sendest, hilft, ein professionelles Image aufrechtzuerhalten und unnötige Verwirrung zu vermeiden.
-
Sei vorsichtig mit “Allen antworten”
Sei vorsichtig, wenn du die Funktion “Allen antworten” in Antwort auf E-Mails verwendest, die an eine Verteilerliste gesendet wurden. Überlege, ob deine Antwort für alle Empfänger notwendig ist oder ob es angemessener wäre, nur dem ursprünglichen Absender oder ausgewählten Personen zu antworten.
Unnötige “Allen antworten”-Antworten können die Postfächer überladen und zu Verwirrung, Frustration oder Informationsüberflutung führen.
Automatisiere Deine E-Mail-Verteilerliste in eine effektive Kampagne mit SecureMailMerge!
Die Verwaltung und Nutzung von E-Mail-Verteilerlisten kann Deine Kommunikationseffizienz erheblich steigern. Allerdings erfordert es die richtigen Werkzeuge, um Deine Verteilerlisten auf die nächste Stufe zu heben und sie in effektive E-Mail-Kampagnen zu verwandeln.
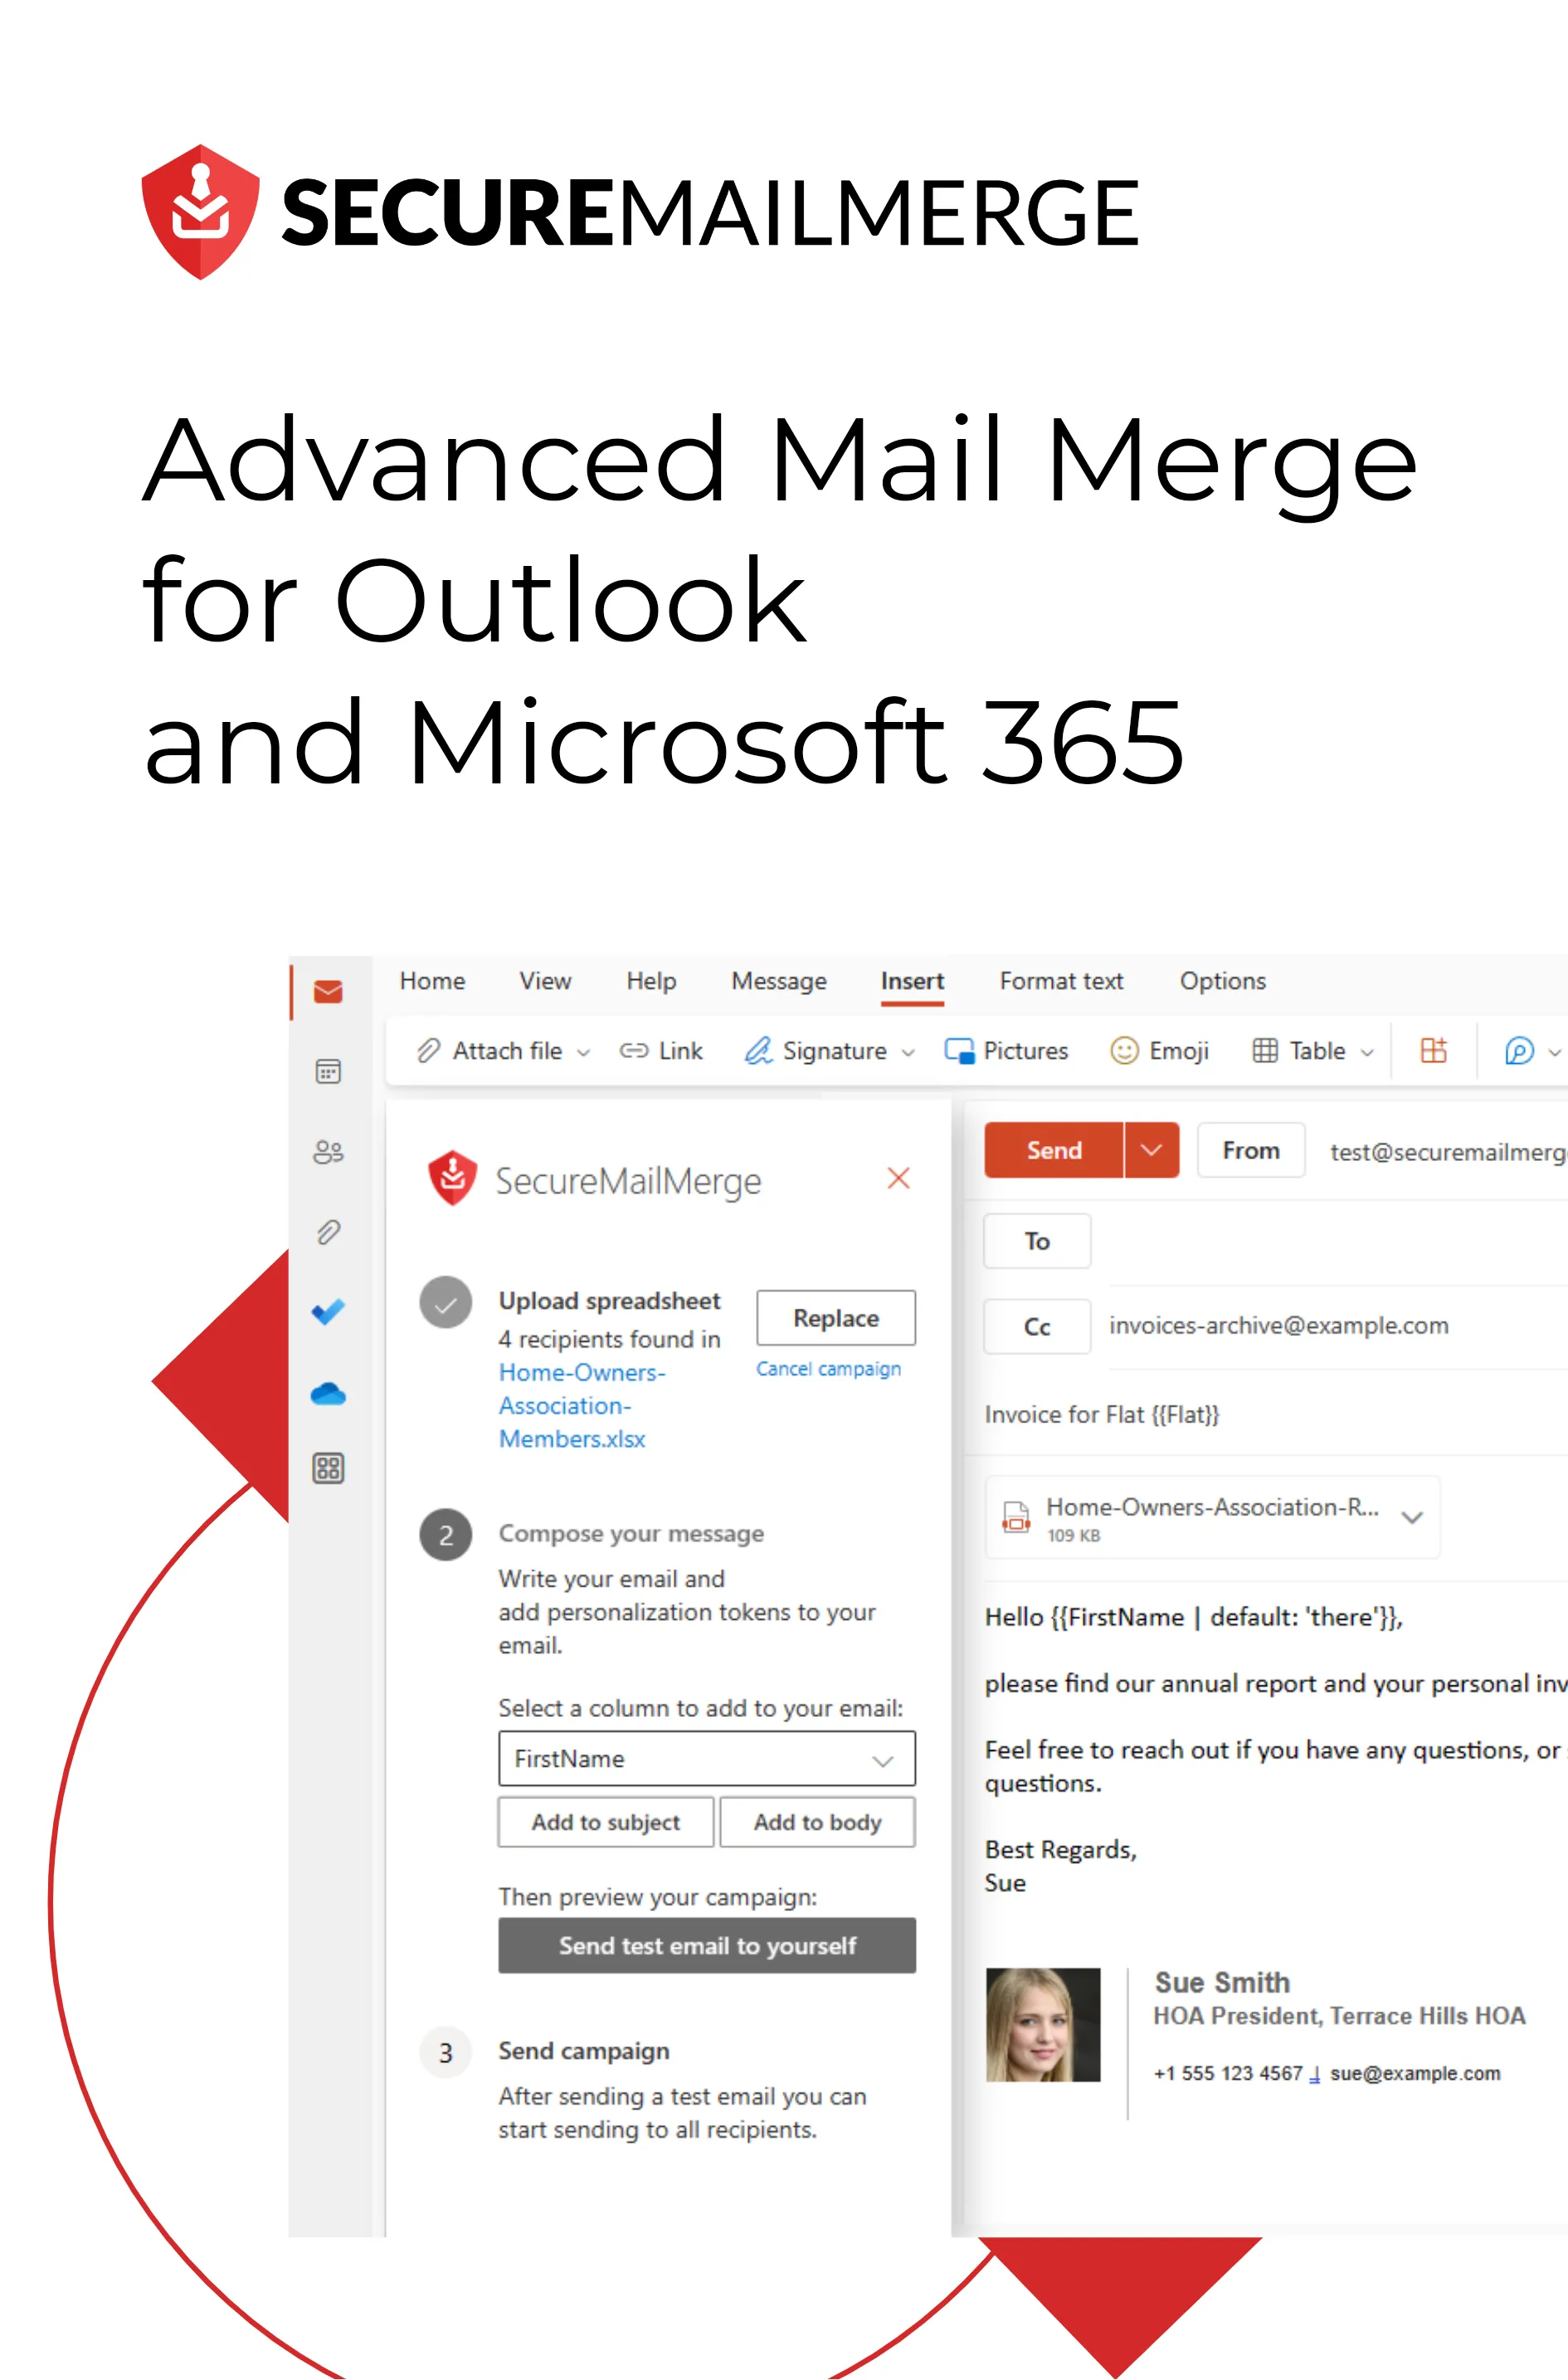
SecureMailMerge ist ein leistungsstarkes Produkt, das nahtlos mit Outlook integriert ist und es Dir ermöglicht, Deine E-Mail-Verteilerlisten-Kampagnen zu automatisieren und zu optimieren.
Hier ist, wie SecureMailMerge Dir zum Erfolg verhelfen kann:
- Einfache Integration mit Outlook – Durch die Nutzung der Vertrautheit und der robusten Funktionen von Outlook kannst Du das volle Potenzial Deiner Verteilerlisten ausschöpfen, ohne eine neue Plattform lernen oder Deine Kontakte migrieren zu müssen.
- Personalisierte E-Mail-Kampagnen – Du kannst Deine E-Mails dynamisch mit empfängerbezogenen Informationen anpassen, indem Du Daten aus verschiedenen Quellen, wie Excel-Tabellen oder Outlook-Kontaktfeldern, zusammenführst.
- Effizientes E-Mail-Versenden – Du kannst wählen, ob Du Deine Kampagnen sofort senden oder später planen möchtest. Diese Flexibilität ermöglicht es Dir, den Versandzeitpunkt für maximale Wirkung zu optimieren.
- Tracking und Analysen – Du kannst Öffnungsraten, Klickrate und Abprungrate verfolgen und wertvolle Einblicke in das Engagement der Empfänger und die Effektivität der Kampagne gewinnen.
Teste SecureMailMerge auf Microsoft kostenlos und nutze eine fortschrittliche Plattform, um Deine E-Mail-Verteilerlisten in erfolgreiche Kampagnen zu verwandeln.
Hat dir dieser Artikel gefallen?
Wir haben eine ganze Bibliothek mit nützlichen Artikeln für dich zum Lesen.
Zeig mir die Bibliothek der Outlook-Artikel.