Know how directly from the Microsoft 365 mail merge experts
Vollständiger Leitfaden zur E-Mail-Verschlüsselung in Outlook: Schritt für Schritt
Mit den zunehmend alarmierenden und unentdeckten Cyberbedrohungen ist es entscheidend, proaktive Maßnahmen zu ergreifen, um deine E-Mails vor neugierigen Augen zu schützen. Deshalb haben wir diesen umfassenden Leitfaden zur E-Mail-Verschlüsselung in Outlook erstellt.
Aktuelle Statistiken zeigen, dass über 90 % der Cyberangriffe mit Phishing-E-Mails beginnen. Diese Angriffe richten sich gegen Einzelpersonen und Unternehmen und führen zu Datenverletzungen, finanziellen Verlusten und irreparablen Schäden am Ruf.
Da kommt die E-Mail-Verschlüsselung ins Spiel.
Stell dir vor, es ist eine virtuelle Festung für deine E-Mails, in der nur autorisierte Empfänger auf deine vertraulichen Nachrichten zugreifen können, um sie vor Hackern und unbefugten Personen zu schützen.
E-Mail-Verschlüsselung ist nicht nur eine Option; sie ist eine Notwendigkeit.
In diesem umfassenden Leitfaden werden wir die Geheimnisse der E-Mail-Verschlüsselung in Microsoft Outlook Schritt für Schritt entschlüsseln. Vom Erhalt einer digitalen ID über die Einrichtung deines E-Mail-Zertifikats bis hin zur Erkundung der Verschlüsselung zwischen Outlook und anderen E-Mail-Clients – wir haben alles für dich.
Lass uns also anfangen!
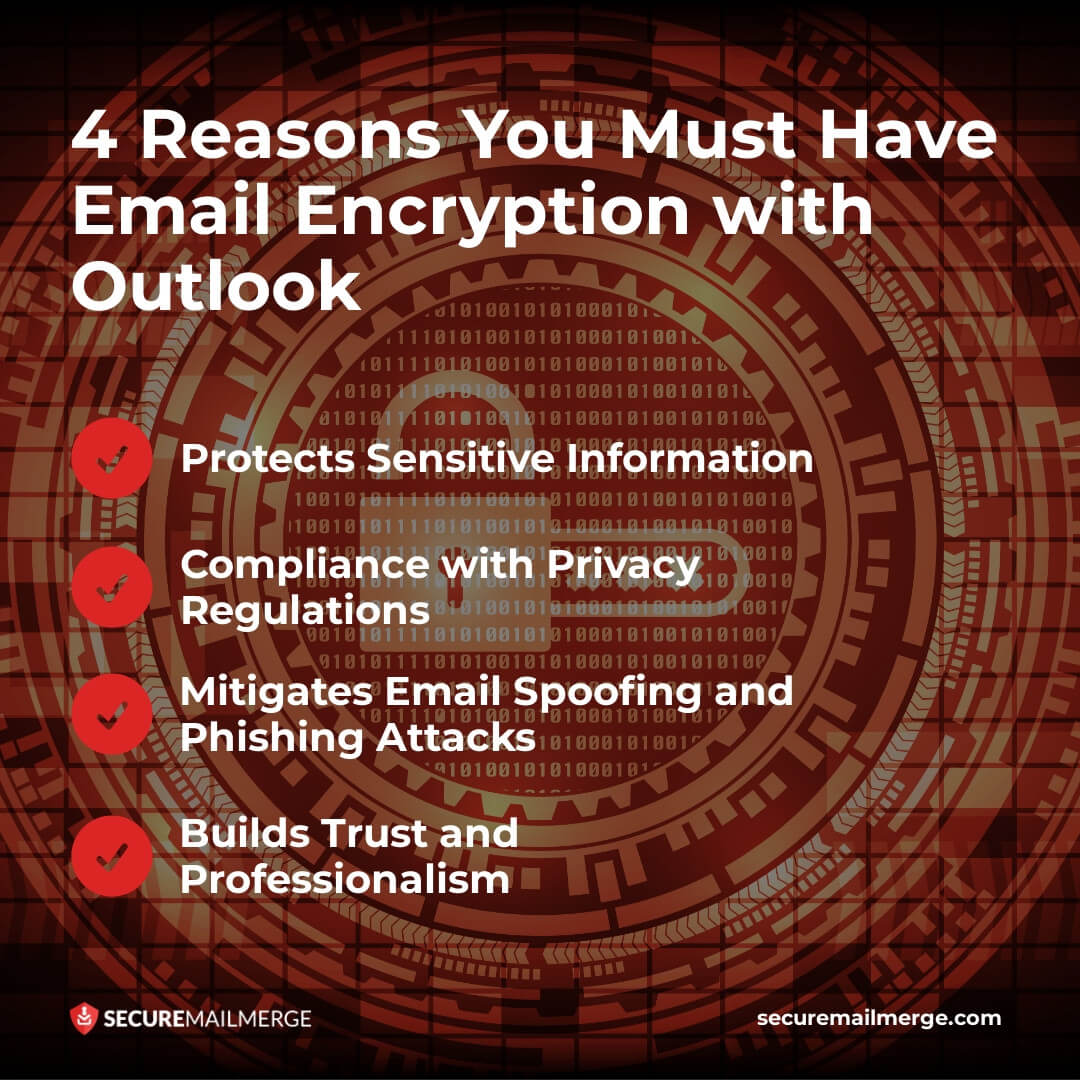
4 Gründe, warum Du E-Mail-Verschlüsselung mit Outlook haben musst
Vor dem Eintauchen in die praktischen Schritte lass uns die Bedeutung der E-Mail-Verschlüsselung und die Vorteile, die sie bietet, verstehen:
-
Schützt sensible Informationen
E-Mail-Verschlüsselung stellt sicher, dass nur der beabsichtigte Empfänger auf den Inhalt einer E-Mail zugreifen kann. Dies verhindert, dass unbefugte Personen die Nachricht abfangen oder manipulieren, und schützt sensible Daten wie Finanzinformationen, persönliche Details oder Geschäftsgeheimnisse.
-
Einhaltung von Datenschutzbestimmungen
Viele Branchen, einschließlich Gesundheitswesen und Finanzen, unterliegen strengen Datenschutzbestimmungen. Durch die Implementierung von E-Mail-Verschlüsselung kannst Du die Einhaltung dieser Vorschriften sicherstellen und Strafen sowie rechtliche Komplikationen vermeiden.
-
Mildert E-Mail-Spoofing und Phishing-Angriffe
Verschlüsselung fügt eine zusätzliche Sicherheitsebene hinzu, die hilft, E-Mail-Spoofing und Phishing-Angriffe zu verhindern. Selbst wenn ein Angreifer es schafft, die E-Mail abzufangen, bleibt der verschlüsselte Inhalt unlesbar und vereitelt seine böswilligen Absichten.
-
Baut Vertrauen und Professionalität auf
Das Verschlüsseln Deiner E-Mails zeigt ein Engagement für Sicherheit und Professionalität. Es beruhigt die Empfänger, dass Du die Vertraulichkeit und Integrität ihrer Informationen priorisierst, und fördert das Vertrauen in Deine Kommunikation.
Jetzt, da wir die Bedeutung der E-Mail-Verschlüsselung verstanden haben, lass uns mit der Einrichtung der E-Mail-Verschlüsselung in Microsoft Outlook fortfahren.
So bekommst du eine digitale ID für die E-Mail-Verschlüsselung in Outlook
Um die Verschlüsselung deiner wichtigen Outlook-E-Mails sicherzustellen, besteht der erste Schritt darin, eine digitale ID, auch bekannt als E-Mail-Zertifikat, zu erwerben.
Microsoft empfiehlt bestimmte Quellen, wo du digitale IDs erhalten kannst. Es ist wichtig zu beachten, dass diese IDs es dir ermöglichen, sichere Outlook-Nachrichten zu senden und Dokumente in verschiedenen anderen Anwendungen wie Microsoft Access, Excel, Word, PowerPoint und OneNote zu schützen.
Der Prozess zur Beschaffung einer digitalen ID variiert je nach gewähltem Dienst.
Du erhältst normalerweise eine ausführbare Installationsdatei, die das Zertifikat nahtlos zu deinem System hinzufügt.
Hier sind einige Schritte, wie du eine erhalten kannst:
- Öffne deinen Webbrowser und suche nach einer vertrauenswürdigen Zertifizierungsstelle (CA), die digitale IDs ausstellt, die mit Outlook kompatibel sind.
- Wähle eine CA aus und gehe auf deren Website. Suche nach einem Abschnitt zu E-Mail-Zertifikaten oder sicherer E-Mail.
- Folge den Anweisungen der CA, um einen E-Mail-Zertifikat zu beantragen. Dies beinhaltet normalerweise das Ausfüllen eines Formulars mit deinen persönlichen Informationen und das Bezahlen etwaiger Gebühren.
- Sobald dein Antrag genehmigt ist, stellt die CA eine digitale ID als Datei oder Smartcard aus.
E-Mail-Verschlüsselung für Outlook – 5 Einfache Schritte
Schritt 1: Richte dein digitales Zertifikat per E-Mail ein
Um E-Mail-Verschlüsselung in Outlook zu verwenden, musst du deine digitale ID/E-Mail-Zertifikat einrichten. Ein digitales Zertifikat ist eine Datei, die die Identität des Absenders bestätigt und sichere Kommunikation ermöglicht.
Hier ist, wie du es mit deiner E-Mail konfigurieren kannst:
-
Gehe zum “Datei”-Tab in Outlook und klicke auf “Optionen.”
-
Wähle “Trust Center” im Optionsfenster und klicke auf die Schaltfläche “Einstellungen des Trust Centers.”
-
Wähle “E-Mail-Sicherheit” aus dem linken Menü im Trust Center-Fenster.
-
Klicke unter “Verschlüsselte E-Mail” auf die Schaltfläche “Einstellungen.”
-
Wähle “Importieren/Exportieren” im Fenster der Sicherheitseinstellungen und klicke auf “Importieren.”
-
Suche die Datei des digitalen Zertifikats (.pfx oder .p12-Format) auf deinem Computer und klicke auf “Öffnen.”
-
Folge den Anweisungen auf dem Bildschirm, um den Installationsprozess des Zertifikats abzuschließen.
Schritt 2: Verfasse eine verschlüsselte E-Mail
Sobald du das digitale Zertifikat installiert hast, kannst du eine verschlüsselte E-Mail in Outlook verfassen.
Hier ist, wie:
-
Öffne Outlook und klicke auf “Neue E-Mail”, um eine neue Nachricht zu erstellen.
-
Klicke auf den Tab “Optionen” oben im Nachrichtenfenster.
-
Klicke in der Gruppe “Berechtigungen” auf “Verschlüsseln.”
-
Verfasse deine E-Mail wie gewohnt, füge die E-Mail-Adresse des Empfängers und den Betreff hinzu.
-
Füge alle Dateien hinzu, die du sicher senden möchtest.
-
Klicke auf “Senden”, um die verschlüsselte E-Mail an den Empfänger zu übermitteln.
Schritt 3: Entschlüsseln einer verschlüsselten E-Mail
Während du lernst, E-Mail-Verschlüsselung in Outlook zu senden, ist es auch wichtig zu wissen, wie man die verschlüsselte E-Mail in Outlook öffnet.
Wenn du eine verschlüsselte E-Mail in Outlook erhältst, ist das Entschlüsseln, um den Inhalt zu lesen, ein einfacher Prozess:
-
Öffne die verschlüsselte E-Mail in deinem Outlook-Posteingang.
-
Klicke auf das Anhangssymbol oder den Dateinamen innerhalb der E-Mail.
-
Möglicherweise wirst du aufgefordert, dein Passwort für das digitale Zertifikat einzugeben, falls du eines festgelegt hast.
-
Sobald die E-Mail entschlüsselt ist, kannst du sie lesen und wie bei jeder anderen E-Mail antworten.
Schritt 4: Verwalten von Zertifikaten und Vertrauenseinstellungen
Du musst deine Vertrauenseinstellungen verwalten, wenn du dein CA erneuerst oder änderst.
Um Zertifikate und Vertrauenseinstellungen in Outlook zu verwalten, folge diesen Schritten:
-
Gehe zum “Datei”-Tab in Outlook und klicke auf “Optionen.”
-
Wähle “Trust Center” im Optionsfenster und klicke auf die Schaltfläche “Einstellungen des Trust Centers.”
-
Wähle “E-Mail-Sicherheit” aus dem linken Menü im Trust Center-Fenster.
-
Unter “Verschlüsselte E-Mail” findest du Optionen zur Verwaltung deiner Zertifikate und Vertrauenseinstellungen.
Hier sind einige wichtige Aktionen, die du hier durchführen kannst:
Zertifikate anzeigen:
Klicke auf die Schaltfläche “Einstellungen”, um das Fenster der Sicherheitseinstellungen zu öffnen. Von dort aus kannst du deine installierten digitalen Zertifikate anzeigen und verwalten, einschließlich Importieren oder Exportieren von Zertifikaten.
Sicherheitseinstellungen ändern:
Du kannst die Standardeinstellungen für Verschlüsselung und digitale Signaturen im Fenster der Sicherheitseinstellungen ändern. Du kannst den Verschlüsselungsalgorithmus auswählen, Ablaufdaten für Zertifikate festlegen und andere verschlüsselungsbezogene Optionen konfigurieren.
Vertrauenswürdige Herausgeber verwalten:
Klicke auf die Schaltfläche “Einstellungen” neben “Automatische digitale Signaturen”, um vertrauenswürdige Herausgeber zu verwalten. Hier kannst du vertrauenswürdige Herausgeber hinzufügen oder entfernen, deren digital signierte Nachrichten du automatisch vertrauen möchtest.
Zertifikate aktualisieren oder widerrufen:
Wenn du ein Zertifikat aktualisieren oder widerrufen musst, kannst du dies im Fenster der Sicherheitseinstellungen tun. Wähle das Zertifikat aus, das du aktualisieren oder stornieren möchtest, und folge den Anweisungen auf dem Bildschirm.
Schritt 5: Überprüfen der E-Mail-Verschlüsselung
Um sicherzustellen, dass deine ausgehenden E-Mails verschlüsselt sind und deine eingehenden E-Mails korrekt entschlüsselt werden, ist es wichtig, den Verschlüsselungsstatus zu überprüfen.
Folge diesen Schritten, um die E-Mail-Verschlüsselung in Outlook zu überprüfen:
-
Verfasse eine neue E-Mail und wähle die E-Mail-Adresse des Empfängers aus.
-
Klicke im Tab “Optionen” auf “Berechtigungen” und wähle “Nur verschlüsseln” oder “Nicht weiterleiten” (je nach deinen Anforderungen).
-
Sende die E-Mail an den Empfänger.
Wenn der Empfänger einen E-Mail-Client verwendet, der Verschlüsselung unterstützt und sein digitales Zertifikat installiert hat, sollte er die E-Mail in verschlüsselter Form erhalten.
Tipp
Um die Verschlüsselung einer eingehenden E-Mail zu überprüfen, suche nach dem “Verschlüsselt”-Symbol oder dem Schloss-Symbol im E-Mail-Header oder Betreff. Du kannst auch die E-Mail öffnen und nach der Mitteilung “Diese Nachricht wurde verschlüsselt” oben im Nachrichteninhalt suchen.
E-Mail-Verschlüsselung Microsoft Outlook und andere E-Mails
Während Outlook integrierte Verschlüsselungsfunktionen bietet, ist es wichtig zu beachten, dass die E-Mail-Verschlüsselung manchmal vom Client abhängt.
Falls Du Dir Sorgen machst, verschlüsselte E-Mails an verschiedene Adressen oder E-Mail-Anbieter außer Outlook zu senden, hier sind ein paar Szenarien, die Du berücksichtigen solltest:
-
Verschlüsselung zwischen Outlook-Nutzern
Die E-Mail-Verschlüsselung erfolgt nahtlos, wenn sowohl der Absender als auch der Empfänger Outlook verwenden und gültige digitale IDs haben.
-
Verschlüsselung mit anderen E-Mail-Clients
Outlook unterstützt S/MIME-Verschlüsselung, die mit anderen E-Mail-Clients, die S/MIME unterstützen, weitgehend kompatibel ist. Der E-Mail-Client des Empfängers muss jedoch so konfiguriert sein, dass er verschlüsselte Nachrichten verarbeiten kann.
-
Nicht-verschlüsselte E-Mail-Empfänger
Sende eine verschlüsselte E-Mail an einen Empfänger, der keine digitale ID hat oder dessen E-Mail-Client keine Verschlüsselung unterstützt. Sie erhalten eine Benachrichtigung oder einen Anhang, der es ihnen ermöglicht, die verschlüsselte Nachricht sicher abzurufen.
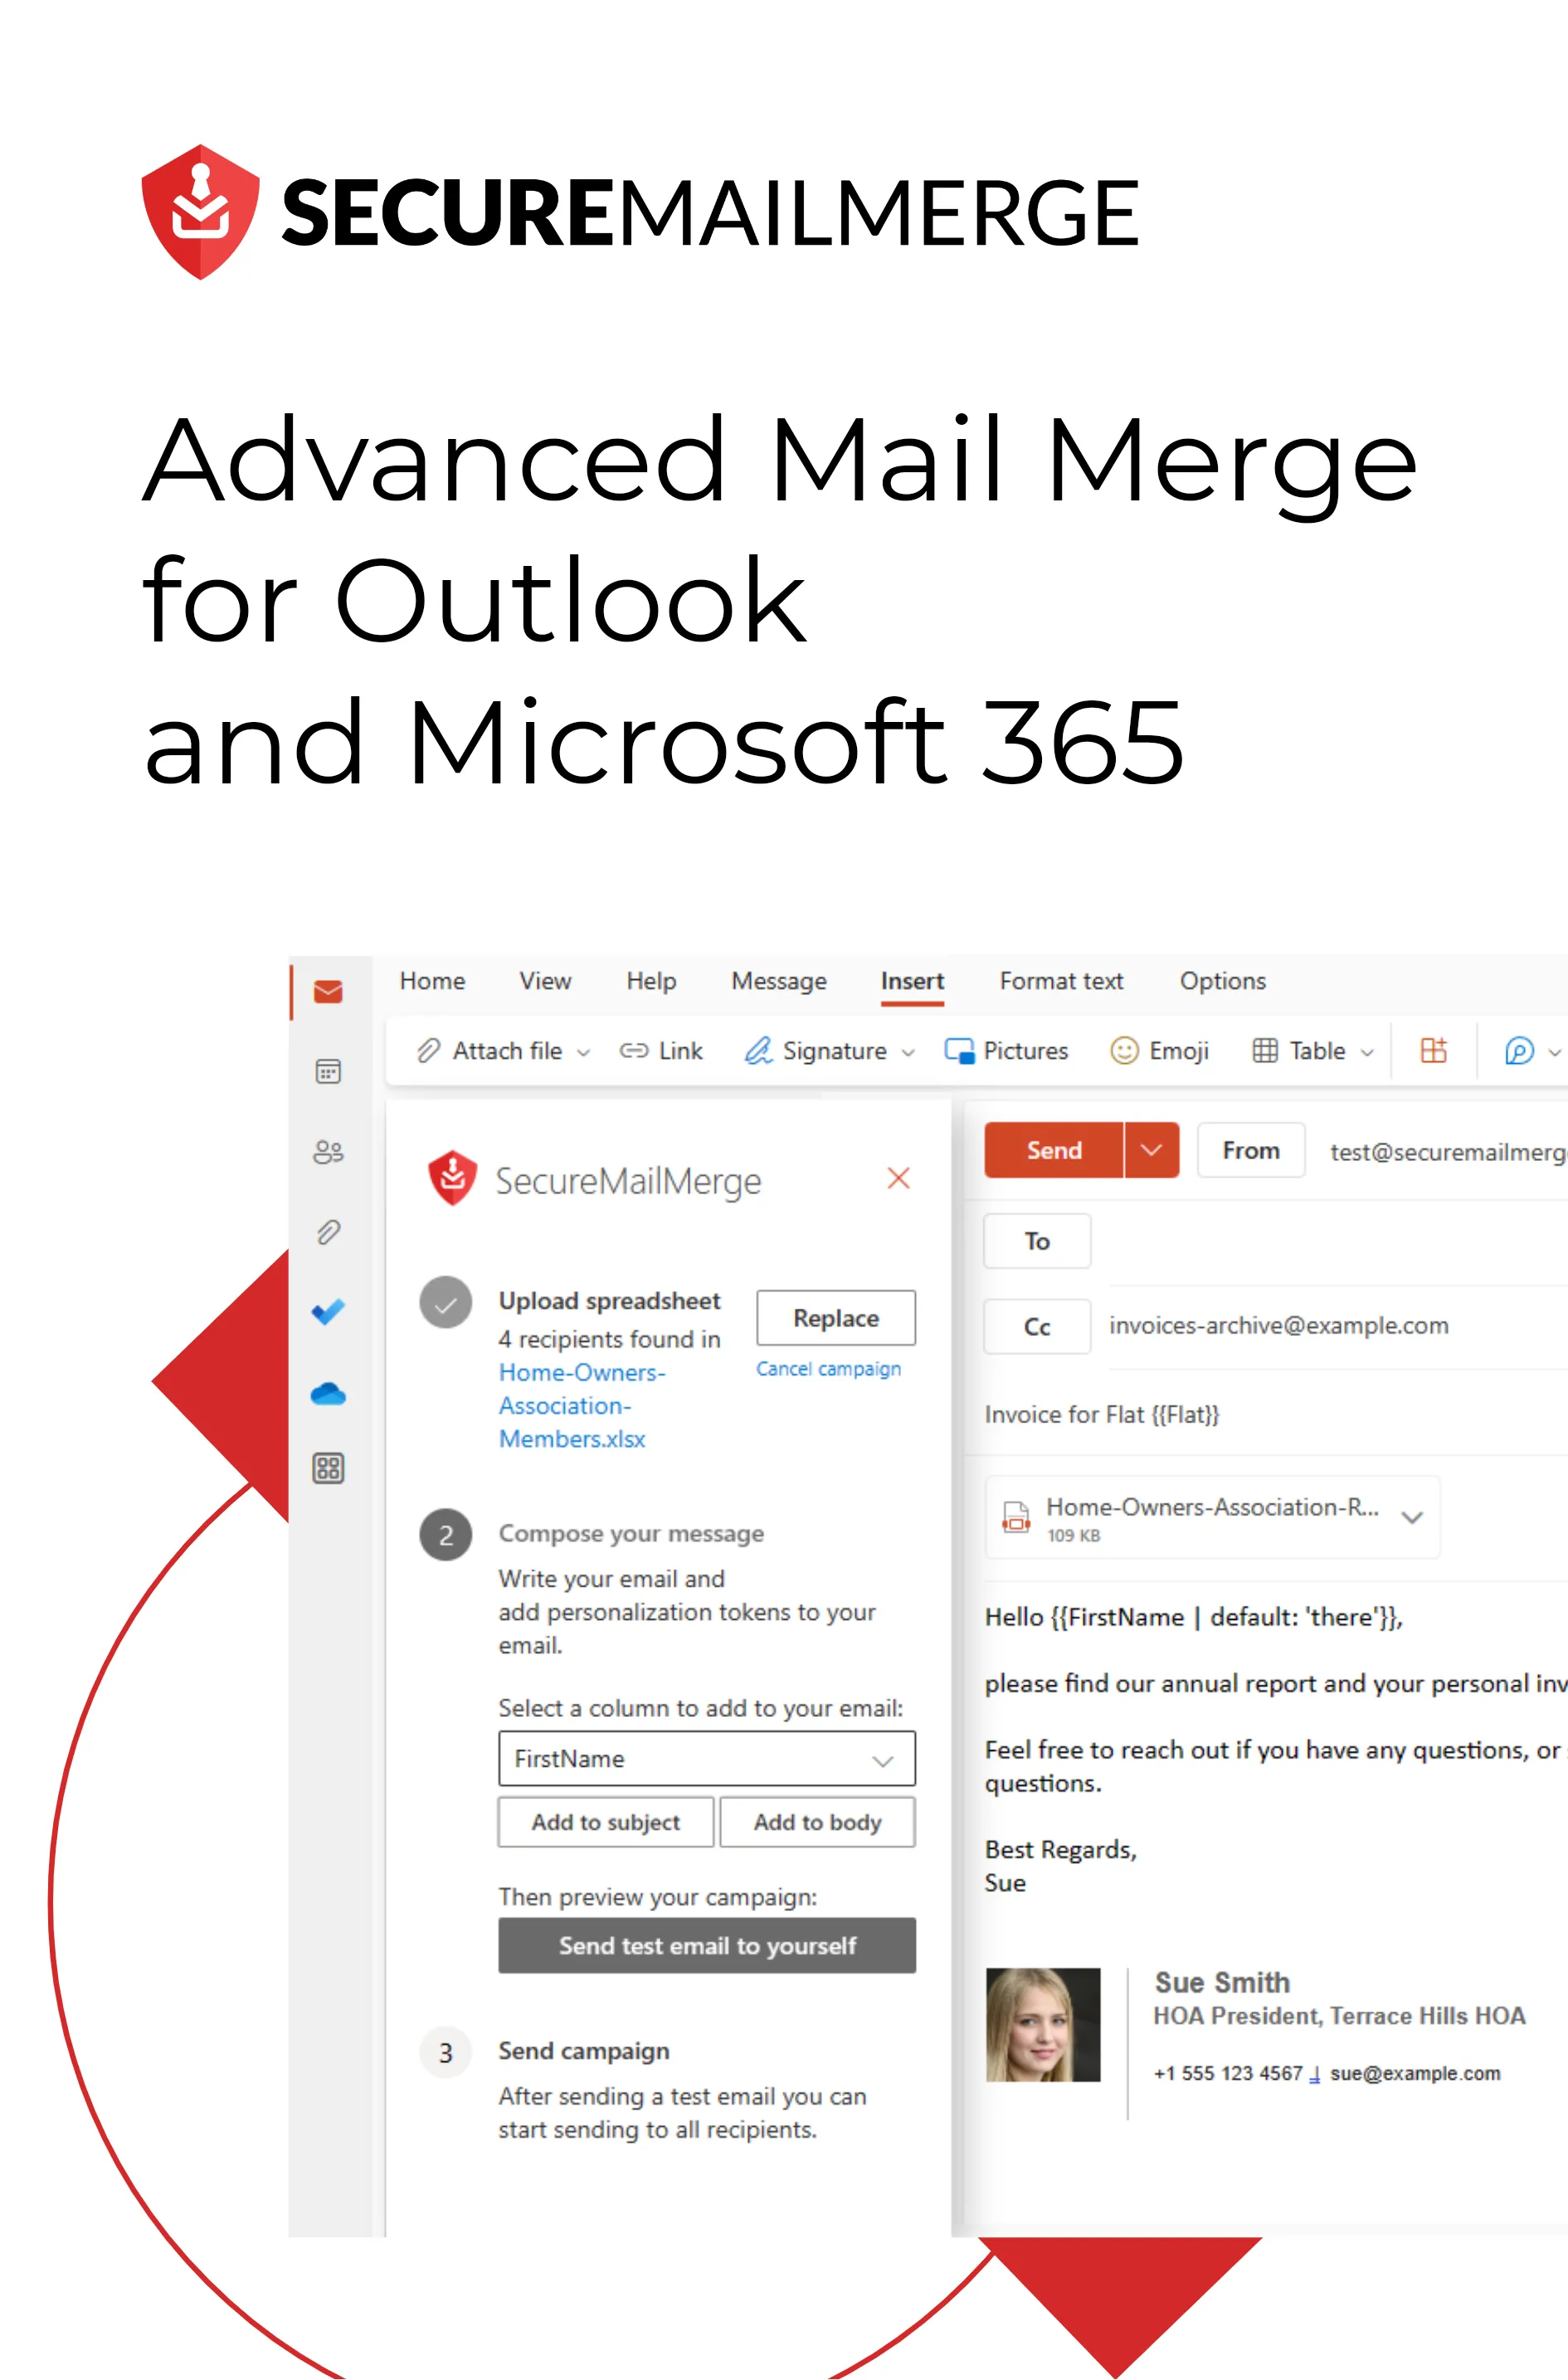
Erstelle fortgeschrittene und sichere E-Mail-Kampagnen mit Secure MailMerge
Den Prozess des Versendens personalisierter E-Mails mit individuellen Anhängen zu optimieren, kann eine herausfordernde Aufgabe sein. Microsoft Outlook 365-Nutzer können jetzt jedoch eine praktische Lösung nutzen.
Secure MailMerge ist ein spezielles Mail-Merge-Plugin, das explizit für Outlook-Nutzer entwickelt wurde und eine moderne Benutzeroberfläche sowie eine Reihe fortschrittlicher Funktionen bietet, die die Anpassung und Verwaltung von E-Mails vereinfachen.
Dank des benutzerfreundlichen Einrichtungsprozesses, umfangreicher Anpassungsoptionen, konsistenter Formatierung und hoher Sicherheit ist Secure MailMerge zur bevorzugten Wahl für vereinfachte und personalisierte E-Mail-Kampagnen geworden.
Installiere Secure MailMerge kostenlos auf Microsoft und starte deine E-Mail-Reise mit fortschrittlichen Funktionen und Sicherheit.
Hat dir dieser Artikel gefallen?
Wir haben eine ganze Bibliothek mit nützlichen Artikeln für dich zum Lesen.
Zeig mir die Bibliothek der Outlook-Artikel.